
Chat Widget
Created by: Emma Johnston
Last Updated: September 20, 2025
Chat Widget
CHAT WIDGET
A chat widget is an interactive message box that you can add to your SuperCoach CRM, funnel, or website. It allows visitors to send you a message directly while automatically capturing their contact details (such as name, email, and phone number) for future follow-up. In practice, it works much like a contact form but in a conversational format, making it easier and more natural for prospects to reach out.
Most coaches will choose an SMS/email or WhatsApp chat widget so they can collect visitor information and respond later. Live chat widgets are also available if you have staff ready to reply in real time.
Dashboard
CHAT WIDGET DASHBOARD
Click on Sites > Chat Widget to view existing chat widgets. Here you’ll see the name of each chat widget, when it was last updated, and the chat type. We’ve already set up an SMS/email chat for you called Default Chat Widget. You can edit this as needed or create additional widgets.
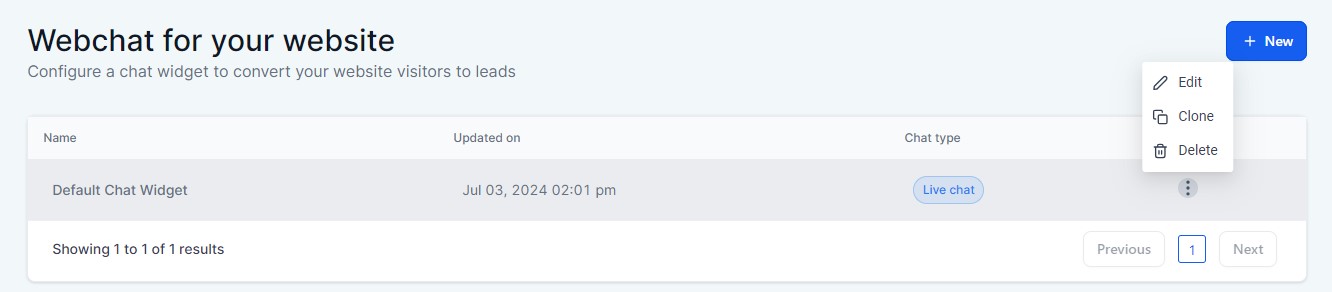
ELLIPSIS MENU
Click on the ellipsis menu (three vertical dots) to view available options. These include Edit, Clone, or Delete. Once you select an option, follow the on-screen instructions.
Chat Widget Messages
Chat Widget Messages
VIEWING AND RESPONDING TO MESSAGES
In both the desktop app and the Lead Connector mobile app, when someone sends a message through the chat widget it will appear in the Conversations tab and in the Contacts tab within that contact’s Conversation History.
You can reply from either section, and depending on the fields included in your chat widget and the setup of your account, replies can be sent as an email, SMS, or WhatsApp message.
VIEWING OVERALL SUBMISSIONS
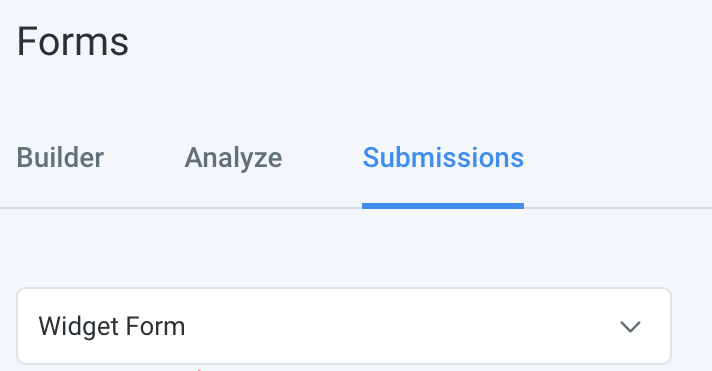
If you would like to see a summary of all submissions made through your chat widget, go to Sites > Forms > Submissions and select Widget Form from the dropdown menu. Here you can filter by date range, search by name, email, or phone number, and manage the columns displayed. This gives you an overview of all widget submissions in one place.
Chat Widget Notifications
CHAT NOTIFICATIONS
The notifications you see will depend on how your profile is set up. Go to Settings > My Profile > Notifications and adjust your Conversation notification preferences. You can choose to receive alerts in-app, by email, or by SMS.
In-app notifications are enabled by default, so unless you’ve changed your settings you’ll see a bell notification in the desktop app and receive push notifications in the Lead Connector mobile app (depending on your phone settings).
CHAT WIDGET ALERT WORKFLOW
If you want to create notifications specifically for chat widget submissions rather than all conversations, you can use a workflow. We have already created a template for you to edit.
1. Go to Automation > Workflows, search for Chat Widget Alert and Auto Response (Clone to Use).
2. Click on the ellipsis menu (three vertical dots), and select Duplicate Workflow.
3. Rename your workflow, press Create, and then make edits as needed.
AUtOMATIONS
Chat Widget Automations
CHAT WIDGET AUTO RESPONSE WORKFLOW
If you want to send an automated acknowledgement message through your chat widget, you can use a workflow. We have already created a template for you to edit.
1. Go to Automation > Workflows, search for Chat Widget Alert and Auto Response (Clone to Use).
2. Click on the ellipsis menu (three vertical dots), and select Duplicate Workflow.
3. Rename your workflow, press Create, and then make edits as needed.
CHAT WIDGET WORKFLOW
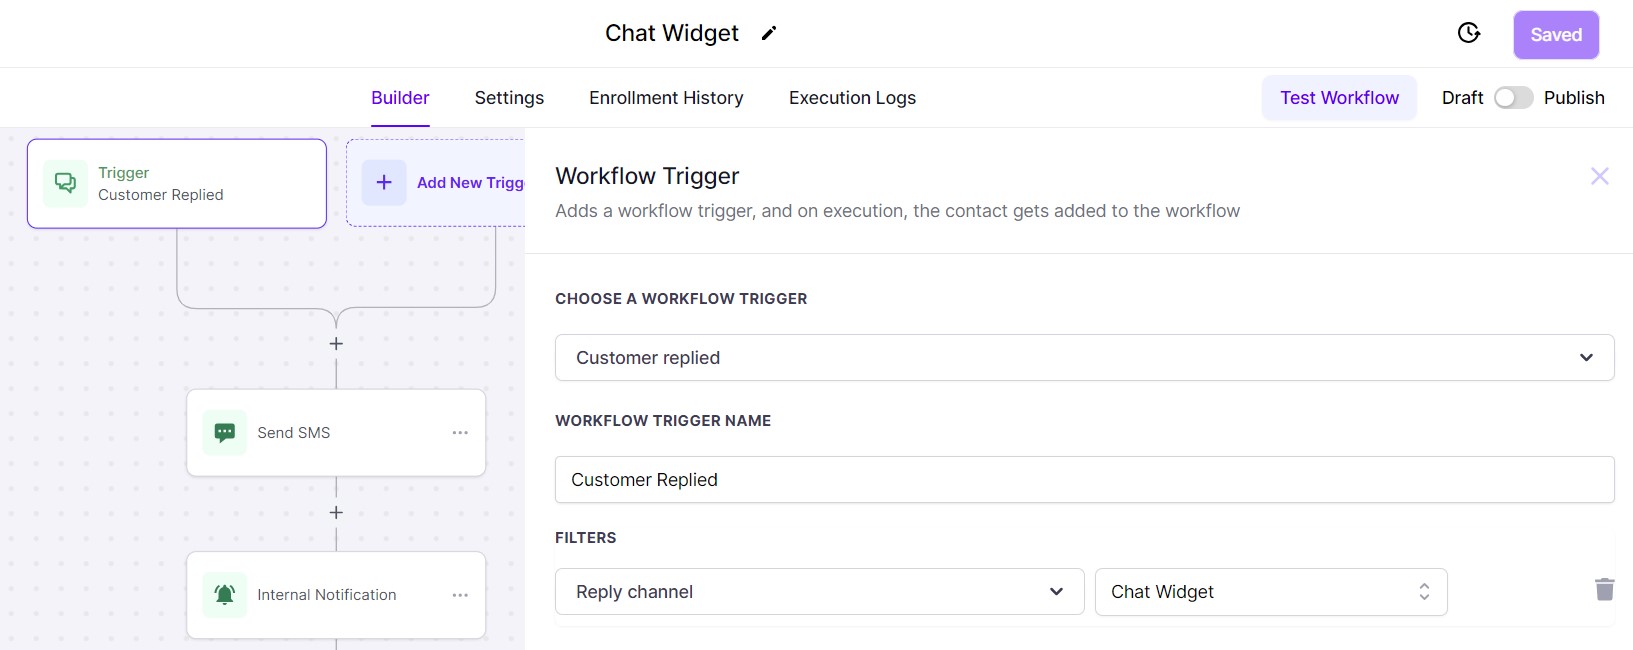
When a contact replies through a chat widget, you may want to trigger an automated action, such as sending a notification or sending an acknowledgement message.
1. Go to Automations > Workflows and create a new workflow (or open an existing one).
2. Click Add Trigger, choose Customer Replied, and set the filter to Reply Channel as Chat Widget (or Live Chat if required).
3. Add any action steps you want to happen next, such as Send Email or Send SMS.
4. Finally, toggle on Publish and press Save.
ADVANCED OPTIONS: FAQ RESPONDER
You can also create an automated FAQ responder that looks for keywords within the contact’s reply.
1. Add an If / Else action step and rename the Action Name to something relevant.
2. Under the branch condition, choose Contact Reply > Replied message > Contains and enter a keyword. Rename the branch to match the keyword you entered. If required, you can add multiple criteria within the same branch using AND/OR conditions.
3. Click on the ellipsis menu (three vertical dots) and select Duplicate Branch. Repeat this process until you have created as many branches as you need.
4. Add the relevant action steps under each branch to send a reply or provide more information relating to that keyword.
In the final branch, None, add a generic response for messages that do not match any of your keywords.
5. Finally, toggle on Publish and press Save.
ADVANCED OPTIONS: CONVERSATION AI
You can also train a Conversation AI agent to answer FAQ questions. Go to AI Agents > Conversation AI, then either edit an existing agent from the Agents List or create a new one with the information you want it to use. Once your agent is set up, add a Conversation AI action step to your workflow and it will generate dynamic replies.
Conversation AI is more adaptable than keyword-based branching, but it is a paid feature with charges applied per response. Click here for more details of costs.
CREATE/Edit A CHAT WIDGET
Create a Chat Widget
CREATE A CHAT WIDGET
1. To create a new chat widget, go to Sites > Chat Widget, then click the blue + New button in the top right corner.
2. Select the type of chat widget you want to create (all-in-one chat, SMS/email chat, live chat or WhatsApp chat).
3. At the top of the screen, click the pencil icon to give your widget a name.
4. Work through the Style, Chat Widget, and Messaging tabs on the left (with the preview panel on the right)
5. Press Save when you are finished.
CHAT TYPE
When creating a new widget, you’ll be asked to choose one of four types:
SMS / Email Chat – Allows visitors to send a message and collects details such as name, phone number, and email so you can reply later by SMS or email. This is the most popular choice for coaches.
WhatsApp Chat – Works similarly to SMS/Email chat but allows you to respond later through WhatsApp. You must have WhatsApp set up on your account to use this option.
Live Chat – Provides a real-time two-way conversation within the widget. Best for teams who can monitor chats during set hours or who want to use Conversation AI for live responses.
All-in-One Chat – Integrates SMS/Email, Live Chat, and WhatsApp into a single widget. Useful if you want to offer multiple communication options in one place.
Edit/Styling a Chat Widget
STYLE TAB
Here you can customize the appearance of your chat widget. Under Style, you can change the chat prompt appearance, update the chat icon and color, and edit both the welcome message and the return visitor greeting message. Under Widget Customization, you can change the avatar and adjust the widget position on the screen.
CHAT WINDOW TAB
Here you can customize what visitors see when the chat window is open. Under Title and Intro, you can change the chat window title, update the intro message, choose which contact form fields to include (such as name, phone, email, message), edit the button text, and set a redirect action. Under Additional Options, you can toggle off agency branding and choose whether to include a consent checkbox for HIPAA.
MESSAGING TAB
Here you can customize the appearance of the thank you page. Under Acknowledgement, you can add customer support contact details (such as a phone number or email), edit the acknowledgement message and greeting, and change the acknowledgement icon and color. Under Language, you can set the language for the entire chat widget.
ADDITIONAL OPTIONS
If you have selected a Live Chat or All-in-One Chat widget, you will see additional settings in the tabs above. These include options for assignment, inactivity/close messages, business hours, and user feedback.
USING YOUR CHAT WIDGET
Add the Chat Widget to a Funnel
ADDING TO A FUNNEL/WEBSITE
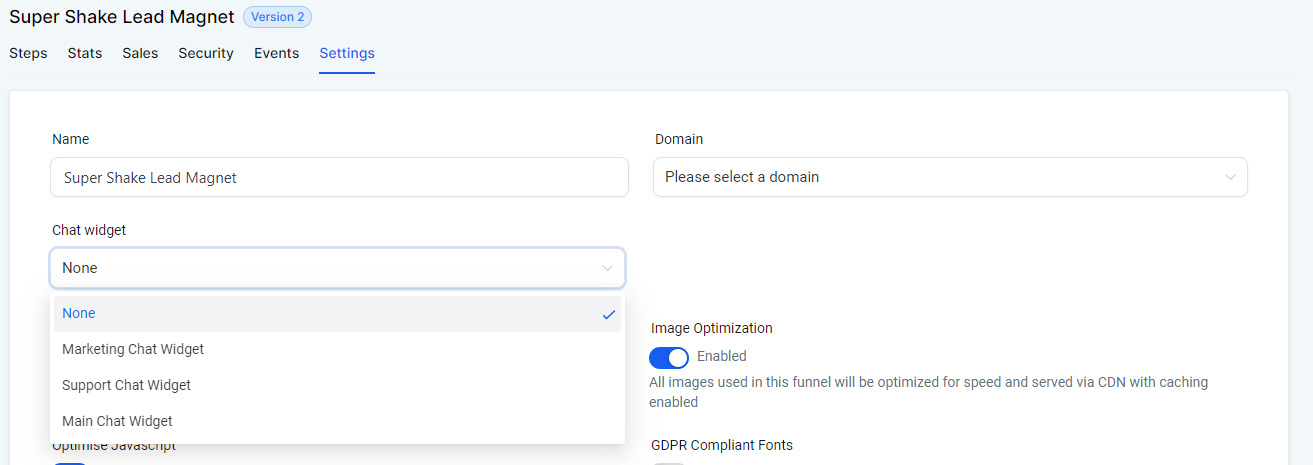
1. Click on either Sites > Funnels and select the funnel or website you want to add the chat widget to.
2. Go to the Settings tab and, under the Chat Widget option, open the drop down list and select the required widget.
3. Click Save.
You can preview the website to view what the widget will look like for contacts visiting your funnel page.
DISABLE THE CHAT WIDGET
To disable to the chat widget, select None from the dropdown menu.
Add the Chat Widget to an External Website
ADD TO EXTERNAL WEBSITE
You can also add your chat widget to an external website. In SuperCoach CRM, go to Sites > Chat Widget and open the required widget. Click Get Code and then Copy. Paste the code into the body or footer section of your website.
If you’re unsure how to do this, contact your website provider for guidance.
ADD TO A WORDPRESS SITE
For a WordPress website, you can install the Lead Connector plug-in. As well as being able to install the chat widget, this plug-in will also enable you to connect funnel pages.
1. In SuperCoach CRM, go to Sites > Chat Widget and open the required widget. Click Get it for WordPress. This will take you to the Lead Connector plugin page. Install and activate the plugin on your WordPress site.
2. Go to Settings > Business Profile and copy your API key from the General Information box. (If no key is shown, click Generate.)
3. In WordPress. paste the API key into the plugin settings.
4. Enable the Chat Widget and save. Your widget should now appear in the bottom right corner of your site.

Some WordPress theme footers will conflict with the Lead Connector plug-in. If you can't see the chat widget on your website after following these steps, you may need to follow the steps above and paste the chat widget code into your footer.php file.

If you have a quick, system-specific "how-to" question, you can chat with our L1 Technical Support Team using the purple chat bubble in the bottom corner of the software. This team offers live chat 24/7, giving you instant access to help at any time of day.
If you have a more complex or outcome-specific “how-to” question, or a query about project requests, done-for-you resources, or Coach Catalyst, you can email our L2 Specialist Team at [email protected]. This team is available Monday to Friday, 8:00am – 1:00pm (EDT).
© 2026 SuperCoach CRM