
Contacts
Created by: Emma Johnston
Last Updated: September 01, 2023
Importing Contacts
Uploading your contact list is an important step to ensuring your database has all of your connections. Importing a list of contacts all at once is the most efficient, effective way to ensure your contacts are organized and contain the best data. You will need a CSV file with the contacts you want to import.
Preparation
PREPARE YOUR CSV FILE
Export your contacts as a CSV file from your current CRM. Ensure that row 1 of the file has all of your necessary headers such as first name, last name, email, phone, etc.
ADD TAGS
Adding a tag to a contact record is a great way to organize your contacts. When importing a new list of contacts, it is possible you'll want to include one or multiple tags for all or some of the contacts in the list.
In the CSV file, have a column titled Tags. You can include as many tags as you want but they must be in a single column, separated by a comma. These tags will be created and applied to the associated contact records during the import. If you system adds quotation marks around each tag, these should be removed. You can remove all of these by selecting the column and doing Find and Replace.
If you want to add one or more tags to the entire list, you can do this when importing contacts.
CREATE CUSTOM FIELDS
If you have custom fields, these will need to be created first.
1. Go to Settings > Custom Fields.
2. Create the required fields. As these fields can be used as questions within a form or survey, you will be given the option to select the question type that matches that field (text, radio box, multiple-choice, etc).
By default, new custom fields will be added to the Additional Information folder. You can move your fields to any folder you wish and rearrange the order those fields are listed in that folder (which helps keep the information organized in Contacts). Click here for information about custom fields and folders.
ADDITIONAL EMAIL ADDRESSES
In the CSV file, have a column titled Additional Emails. You can include up to ten additional email addresses for a contact, but they must be in a single column, separated by a comma.
Notes: If multiple duplicate matches are found for an additional email address, that specific additional email address will be omitted from the contact. If the email address column in the CSV is vacant but the additional emails column has values, the first additional email address will take the role of the primary email address. When updating an existing contact, the specified email address in the CSV will merge with the email address already linked to the contact.
ADDITIONAL PHONE NUMBERS
In the CSV file, have a column titled Additional Phones. You can include up to ten additional phone number for a contact, but they must be in a single column, separated by a comma.
Notes: If multiple duplicate matches are found for an additional phone number, that specific additional phone number will be omitted from the contact. If the phone column in the CSV is vacant but the additional phones column has values, the first additional phone number will take the role of the primary phone number. When updating an existing contact, the specified phones in the CSV will merge with the phones already linked to the contact.
Importing Contacts
IMPORT EXISTING CONTACTS
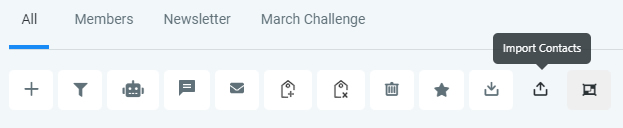
Click on Contacts and click on the Import Contacts button on the top menu bar (the upload icon in the list with an arrow pointing up from a tray). Follow these steps in the pop-up window to ensure your list imports correctly:
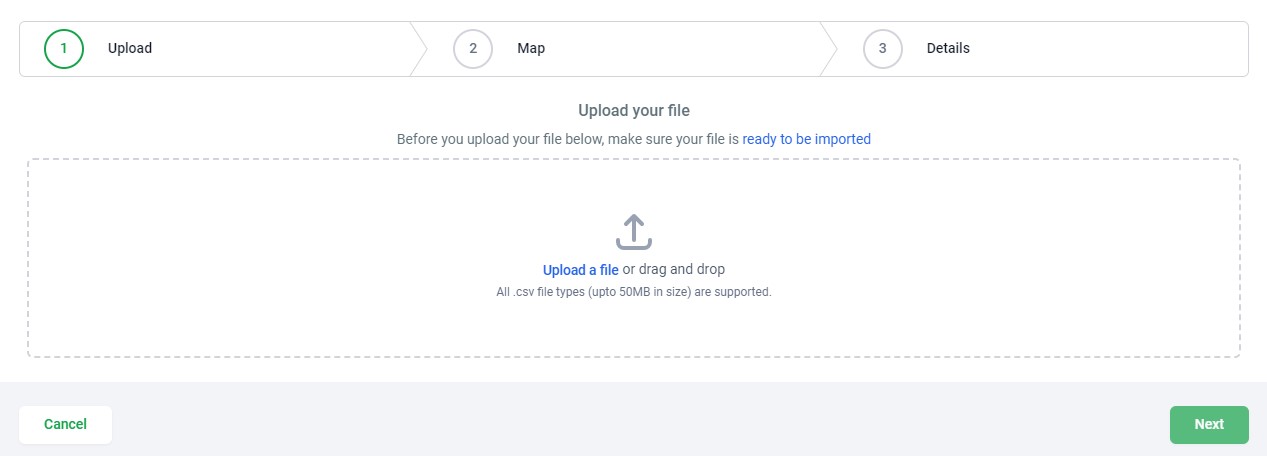
1. UPLOAD
To upload a CSV document, either click Upload a File or drag-and-drop the file into the box. Click Next.
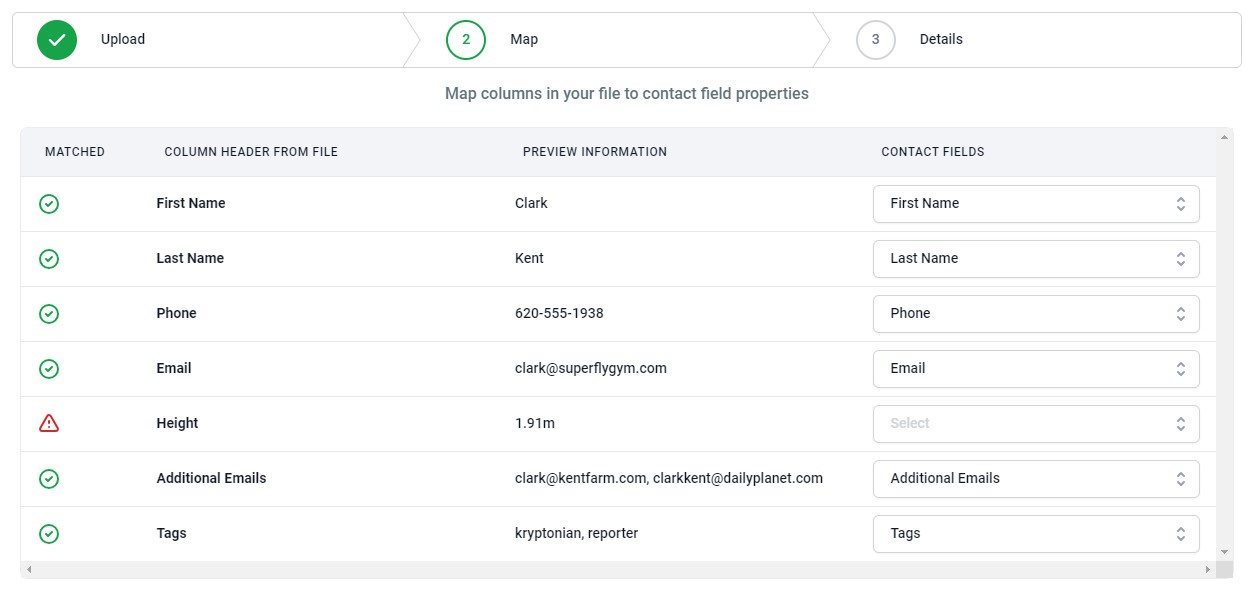
2. MAP
Map the fields (such as first name, surname, and email) to your CSV columns. The column headers from the CSV file will appear on the left. The system will try to automatically match up the system fields with the corresponding column headers from your CSV file (and will display a preview of that match). If you need to manually map a field, you can select the correct system contact field using the drop-downs. Click Next.
3. DETAILS
If needed, give the import a name (for your reference). If you would like to create a Smart List for these contacts, select Create a List of Contacts from the Import (which save using the Import Name).
4. ADVANCED
Choose how you would like to handle any duplicates. There are three options to select from when a duplicate entry is recognized in the data import. The default and recommended option is to update the existing contact(s) with data from the spreadsheet being imported, but only for empty fields. The other two options are to update the existing contact(s) with data from the spreadsheet being imported, overwriting the current data in Growth Catalyst CRM with what is being imported, or to take no action. Add additional tags and/or add them or a Workflow (both optional). Click Submit.
Once completed, refresh the page to check that the list of contacts was successfully imported.
UPDATING CONTACTS
If you import a new list in Growth Catalyst CRM and anyone already exist in your Contacts list, the system will match up the existing contact by their email address and/or phone number and update their contact file.
Email Deliverability
DELIVERABILITY ANALYSIS REPORT
When you now import a new list of contacts, the system will assess the email deliverability of that list and create an Contact Import Analysis Report to give you information deliverability and percentage of high risk emails. Go to Settings > Email Services > Risk Assessment to see your reports. Activating email validation can help you eliminate those risks.
Smart Lists
CREATE SMART LISTS
We recommend creating Smart Lists for your main contact groups (members, newsletter subscribers, etc).
Click here for more information about Smart Lists.
If you have a quick, system-specific "how-to" question, you can chat with our L1 Technical Support Team using the purple chat bubble in the bottom corner of the software. This team offers live chat 24/7, giving you instant access to help at any time of day.
If you have a more complex or outcome-specific “how-to” question, or a query about project requests, done-for-you resources, you can email our L2 Specialist Team at [email protected]. This team is available Monday to Friday, 8:00am – 1:00pm (EDT).
For Coach Catalyst questions, email [email protected].
© 2026 Growth Catalyst CRM