
Payments
Created by: Emma Johnston
Last Updated: February 17, 2025
Payment Integrations
STRIPE
Click here for more information about Stripe fees.
1. Go to Payments > Integrations.
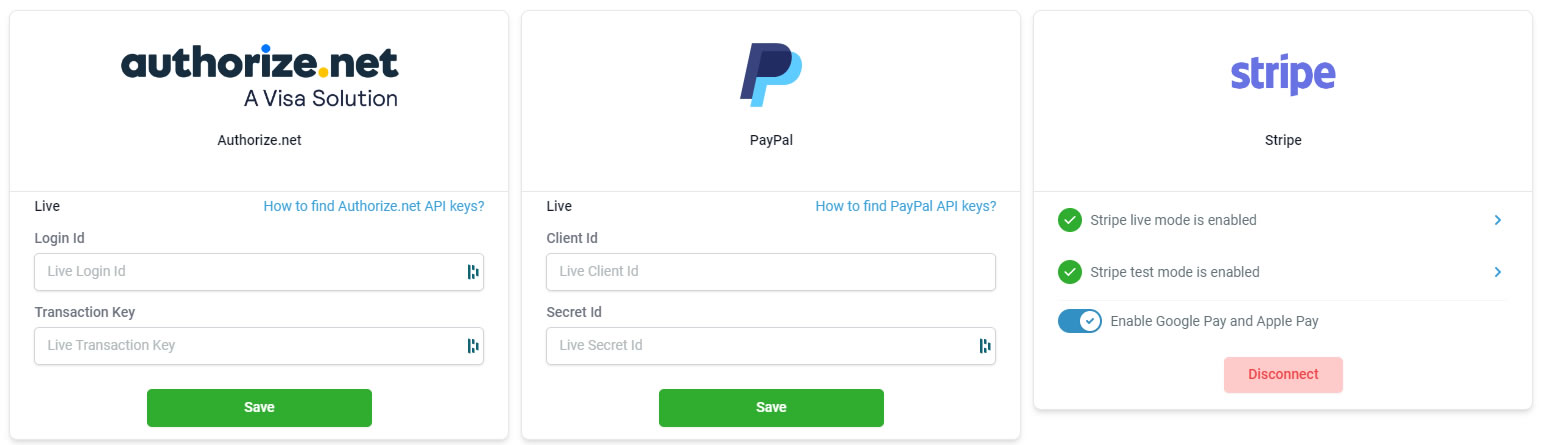
2. Under Stripe, click on Connect. Log in to Stripe and follow the instructions.
GOOGLE PAY AND APPLE PAY
Once Stripe is connected, you will then have the option to toggle on Enable Google Pay and Apple Pay. This will add the option of Google pay and Apple pay to Funnel order forms to make it quicker for customers to purchase your programs and products.
PAYPAL
Click here for information about PayPal fees.
1. Log in to PayPal and click on Developer in the top right corner. On the horizontal menu at the top, click on APIs.
2. Click on Get Credentials and select Log in to the Developer Dashboard.
3. Click Create App. Give your app a name and click Create App. Copy your Client ID and Secret ID.
4. Go to Payments > Integrations and paste the information into Paypal. Click Connect to save.
SQUARE
Click here for information about Square pricing fees.
1. Go to Payments > Integrations.
2. Under Square, click on Connect. Log in to Square and follow the instructions.
AUTHORIZE. NET
You also have the option of adding Authorize.net as an alternative to Stripe. Click here for more information on fees.
1. Following these instructions, copy your Login Id, Transaction Key and Signature Key.
2. Go to Payments > Integrations and paste the information into Authorize.net. Click Connect to save.
NMI
You also have the option of adding NMI as an alternative to Stripe. NMI (Network Merchants Inc) is a well-known payment gateway service provider that offers a variety of solutions for businesses to process online transactions securely and efficiently.
1. Following these instructions, copy your Gateway ID, Security Key and Public Key.
2. Go to Payments > Integrations and paste the information into NMI. Click Save.
Other Integrations
SHOPIFY
First, you will need to create a private app in your Shopify store.
1. Log in to Shopify and go to Apps > Manage Private Apps. Click on the green Enable Private App Development button.
2. After accepting the required info provided by Shopify, click on Enable Private App Development. Click on Create Private App.
3. In the App Details section, enter a name for the app and enter your email.
4. In the Admin API section, expand the Show Inactive Admin API Permissions and expand your options. Scroll down to both Orders and Products and enable Read access permissions.
5. Press the green Save button in the top right corner. In the screen that follows, in the Admin API section, copy the password.
You are now ready to connect to your SuperCoach CRM account.
6. In SuperCoach CRM, go to Settings > Integrations and click on Connect under Shopify.
7. Paste the password information from step 5 and enter the name of your Shopify store. Click Connect to close the window.

If you have a quick, system-specific "how-to" question, you can chat with our L1 Technical Support Team using the purple chat bubble in the bottom corner of the software. This team offers live chat 24/7, giving you instant access to help at any time of day.
If you have a more complex or outcome-specific “how-to” question, or a query about project requests, done-for-you resources, or Coach Catalyst, you can email our L2 Specialist Team at [email protected]. This team is available Monday to Friday, 8:00am – 1:00pm (EDT).
© 2026 SuperCoach CRM