
Payments
Created by: Emma Johnston
Last Updated: March 07, 2024
Products Dashboard
PRODUCT DASHBOARD
Click on Payments > Products to view existing products, including product name, price and type. You can search products by name using the Search Box. There is also information on when the product was last updated.
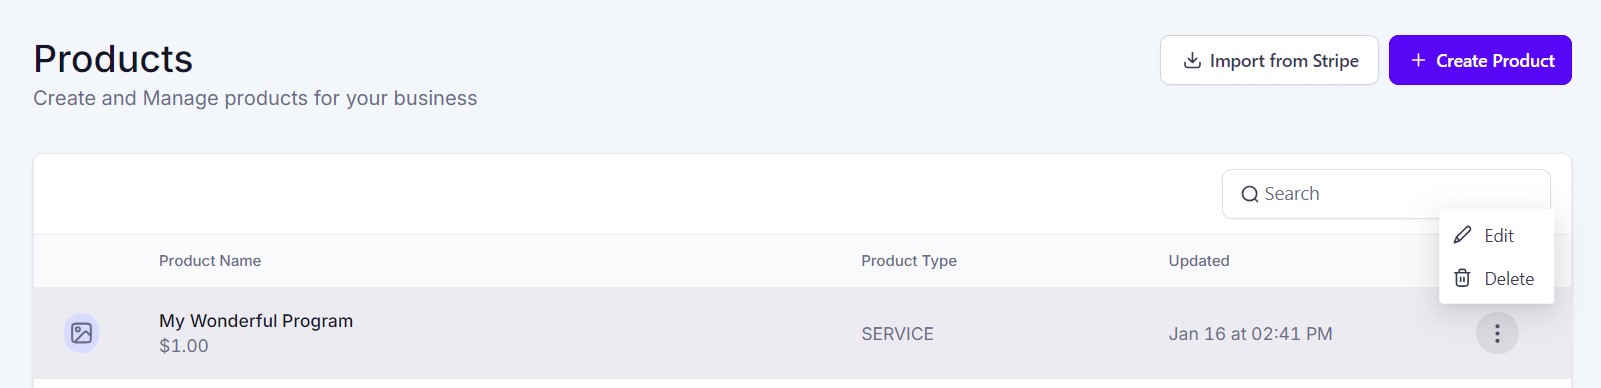
EDIT A PRODUCT OR PRICE
1. Click on Payments > Products and select the required product.
2. To edit the product details, click on the Edit button in the top right corner of the Details section.
3. To edit or delete a price, select with the pencil icon or the trashcan icon next to the price. If you select the trashcan icon, you will need to type 'delete' in the popup and then press the Yes, Delete button to confirm.
DELETE A PRODUCT
1. Click on Payments > Products.
2. Select Actions for the required product and select Delete.
Create Products
CREATE A PRODUCT
1. Click on Payments > Products and press the + Create New Product button in the top right corner.
2. Under the Product Information tab, enter a product title and product type. You can also add a product image and product description to help you identify the product. If required, expand the Additional Options drop-down and add a statement descriptor.
3. Under the Pricing tab, set whether it is a one-time charge or recurring (used for subscriptions and payment plans). Enter the amount and select the currency. You can also set a Compart At Price. If required, expand the Additional Options drop-down and add a price description. You can also toggle on Membership Offer to mark the product as a membership offer.
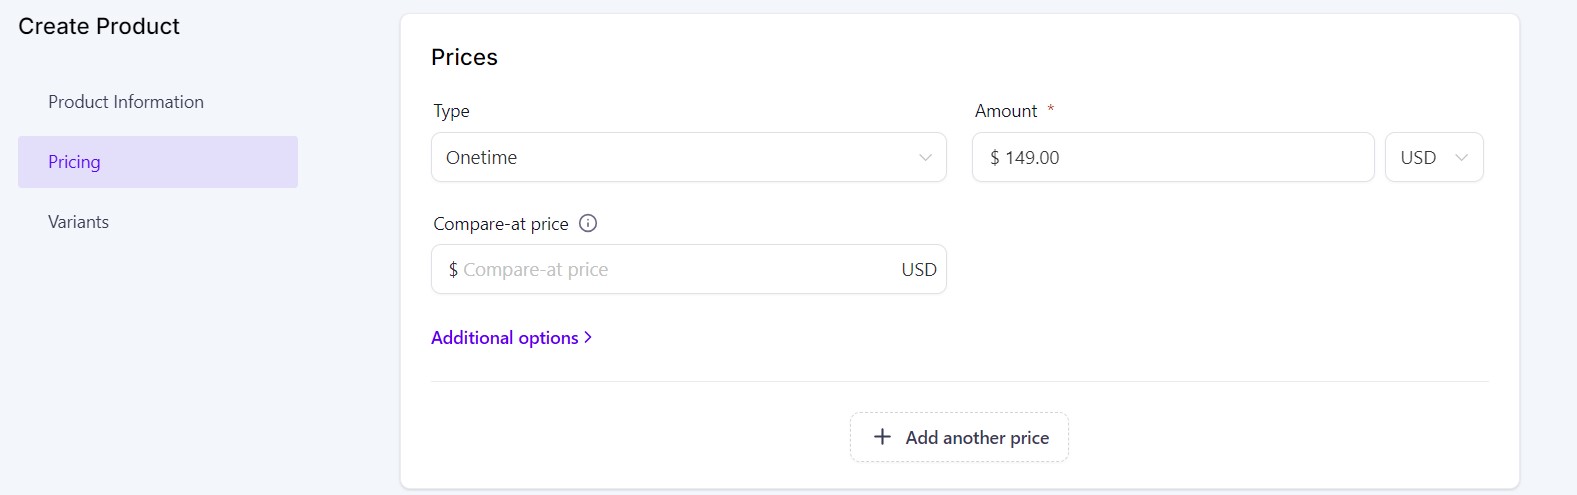
4. To add an additional price, click on the + Add Another Price button. Enter a pricing name to all price and add the type, amount and currency for the additional price.
5. If required, under the Variants tab, add options such as size or color.
5. Press Save to save and exit.
ADD ADDITIONAL PRICING OPTIONS
Once the product is created, you can add additional prices, if required.
1. Click on Payments > Products and select the required product.
2. Under the Pricing tab, Click on the + Add Another Price button.
3. Enter a pricing name, payment type, amount and currency for the additional price. If required, expand the Additional Options drop-down and add a price description. You can also toggle on Membership Offer to mark the product as a membership offer.
4. Press Save to save and exit.
Product Payment Links
PRODUCT PAYMENT LINKS
You can create payment links to sell products without the need for a funnel (which is useful for quick payments).
1. Click on Payments > Payment Links and press the + Create New Payment Link button in the top right corner.
2. Once in the payment link editor, rename your payment link at the top of the page.
3. In the left hand panel, select a product and price from the drop down menu.
4. Decide whether you want to collect the customer address and/or a phone number.
5. Change the call to action (button text), if necessary.
6. Press Save to finish.
PREVIEW LINK
To preview the payment link, click on Preview at the top of the link editing page.
PAYMENT LINKS DASHBOARD
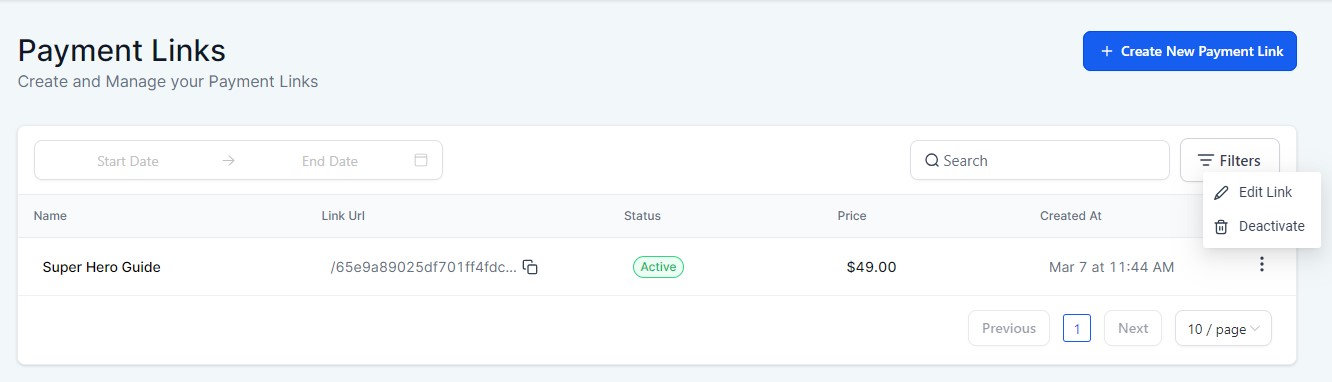
Click on Payments > Payment Links to view existing links. There is also information on name, link URL, status, price and date created. You can search links by name using the Search Box. You can change page in the bottom right corner. You can use Filters to filter by status, or filter by date.
PAYMENT LINK URL
To copy payment link URL, click on the Copy icon for the link in the Link URL column.
EDIT A PAYMENT LINK
To edit a payment link, click on the ellipsis menu (three vertical dots) and select Edit Link.
DEACTIVATE A PAYMENT LINK
To deactivate a payment link, click on the ellipsis menu (three vertical dots) and select Deactivate.
Add Products to a Funnel
You can add products to either funnel pages or website pages. You must add products to the correct step and will need to add an order form to the page (either one-step or two-step order form). You can also add a product as an OTO.
ACCESS FUNNEL PRODUCT PAGE (00:20)
1. Click on Sites > Funnels and select the funnel.
2. Click on the sales page step and click on the Products tab.

ACCESS WEBSITE PRODUCT PAGE (00:36)
1. Click on Sites > Websites and select the websites.
2. Click three vertical dots in the corner of the sales page and click on the Products option.
ADD PRODUCTS (00:50)
1. Click on the green + Add Product button in the top right corner.
2. Add a product name.
3. Under Product, select the product from the drop-down menu. You can also type in the box to search for a product.
4. Under Price, select the required price from the drop-down menu. If you want to display a different wording for price on the two-step order form, you can type this in the Price Display Override box.
5. Press Save to exit.
If you want to offer more than one pricing option (for example a single payment and a payment plan), you will need to repeat steps 1-4 to add the additional price but choose a different price option on step 4.
ORDER BUMP (02:13)
1. If you have an order bump, repeat the required steps above to create a second product. Expand the Additional Options drop-down and select Bump Product.
2. In the funnel builder, click on the Two-Step Order Form and click on Order Bump Options in the Advanced tab in the left-hand menu.
3. Toggle on Enable Order Bump.
4. Click on + Add Bump Product and select the product from the drop-down menu.
5. Add a headline, text, and image.
6. Click Save to exit.
Receipts
SALES RECEIPTS
To enable sales receipts, go to Payments > Settings > Receipts and toggle on Enable Sales Receipts. You can customise the emails for adding a title or selecting an email template. Press Save when complete.
Transactions
TRANSACTIONS DASHBOARD
To view customer payments, go to Payments > Transactions. Here you can see information on the customer, source, transaction date, amount and status. You press Filters to filter by status, payment mode or source type. You can also filter by start and end date.
DOWNLOAD
To download a list of transactions (as a CSV file), first filter the transaction list as required and the press Download.
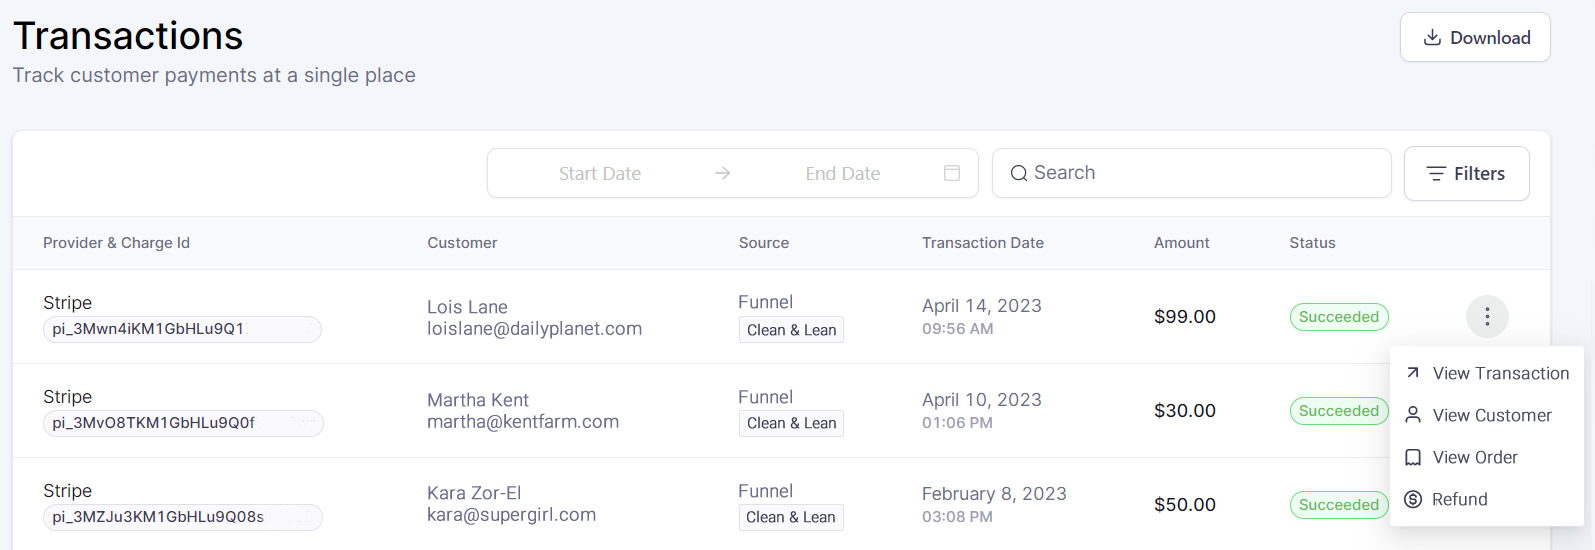
VIEW TRANSACTION
To view additional details for a specific transaction, click on the ellipsis menu (three vertical dots) and select View Transaction.
VIEW CUSTOMER
To view the contact card for the customer of a specific transaction, click on the ellipsis menu (three vertical dots) and select View Customer.
VIEW ORDER/INVOICE
To view the order or invoice (depending on the type of transaction), click on the ellipsis menu (three vertical dots) and select View Order/View Invoice.
Refunds
REFUNDS
To refund a specific transaction, click on the ellipsis menu (three vertical dots) and select Refund. Choose the amount (and add a note if required) and press Refund.
AUDIT LOGS
To view refund actions, go to Settings > Audit Logs and set the module filter to Payments (or Invoices). Logs will capture successful full/partial refunds as well as failed refunds. The details will capture the refund status, notes, the business user who performed the refund, type of refund along with other details.
Subscriptions
TRANSACTIONS DASHBOARD
To view subscriptions, go to Payments > Subscriptions. Here you can see information on the customer, source, date created, amount and status. You press Filters to filter by status, payment mode or source type. You can also filter by start and end date.
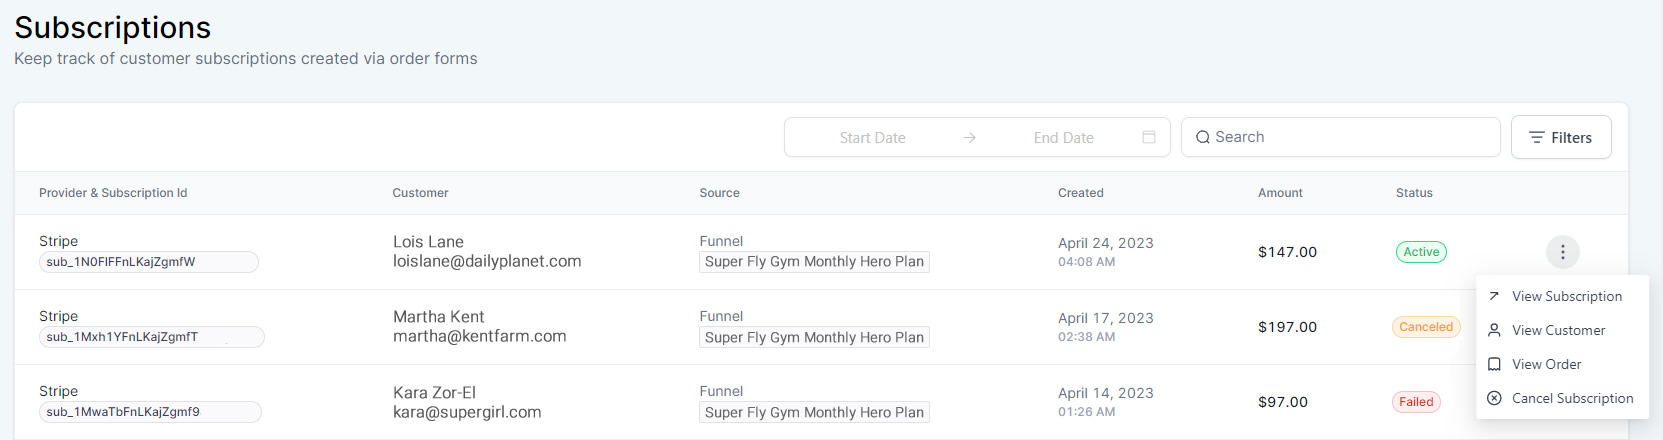
VIEW SUBSCRIPTION
To view additional details for a specific transaction, click on the ellipsis menu (three vertical dots) and select View Subscription.
VIEW CUSTOMER
To view the contact card for the customer of a specific transaction, click on the ellipsis menu (three vertical dots) and select View Customer.
VIEW ORDER/INVOICE
To view the order or invoice (depending on the type of transaction), click on the ellipsis menu (three vertical dots) and select View Order/View Invoice.
Manage Subscriptions
CANCEL SUBSCRIPTION
To cancel a subscription, click on the ellipsis menu (three vertical dots) and select Cancel Subscription.

If you have a quick, system-specific "how-to" question, you can chat with our L1 Technical Support Team using the purple chat bubble in the bottom corner of the software. This team offers live chat 24/7, giving you instant access to help at any time of day.
If you have a more complex or outcome-specific “how-to” question, or a query about project requests, done-for-you resources, or Coach Catalyst, you can email our L2 Specialist Team at [email protected]. This team is available Monday to Friday, 8:00am – 1:00pm (EDT).
© 2026 SuperCoach CRM