
Tags
Created by: Emma Johnston
Last Updated: August 16, 2025
Tags
The tag feature is a great way to organize your contacts. Adding and removing tags will help you determine what the contact is interested in, what membership level they are on, what stage the contact is at (similar but more granular than a pipeline stage). You can add more than one tag to a contact.
Tags can be used in Contacts to Filter your contacts list to perform a Bulk Actions or to save a Smart List. Adding or removing tags can also trigger Workflows.
Creating a Tag
CREATE A TAG IN SETTINGS
1. Click on Settings > Tags. In the top right corner, click on the blue + New Tag button.
2. Enter a tag name name and press Create (or cancel).
Tags should only contain text (letters, numbers and spaces), but should not contain special characters.
CREATE A TAG WHEN ADDING
Tags can also be created at the the same you are adding them to contact. When adding a tag, type the desired tag into the box. If the tag does not already exist, there will be an option to create it.
Manually Add or Remove Tags
CONTACTS
A tag can be manually applied or removed within an individual contact record. Go to Contacts and click the name of the contact you wish to view. In the panel on the left, scroll down to the bottom of the left panel to the ACTIONS section to view, add or delete tags. Click here for more information about contacts.
BULK ACTION
You can add or remove one or multiple tags as a bulk action.
1. Click on Contacts and select the desired contacts. If you want to filter the contacts, click on the More Filters button on the right-hand side of the toolbar.
2. Once the contacts are selected, click on either the Add Tag icon or Remove Tag icon.
3. In the pop-up window that appears, type in a keyword and select one or more tags to apply or remove.
4. Depending on the option selected, click Add or Remove to confirm your changes.
Click here for more information about bulk actions and click here for more information about filters.
IMPORT
You can add tags when importing a list of new contacts. The CSV file you upload can contain specific tags for each contacts or you can apply a tag to the list as a whole on the final import page. Click here for more information about importing contacts.
Dashboard
Dashboard
TAGS DASHBOARD
Click on Settings > Tags to view existing tags. You can search forms by name using the Search Box. You can change page in the bottom right corner. There is also information on when the tag was created and when it was last updated.
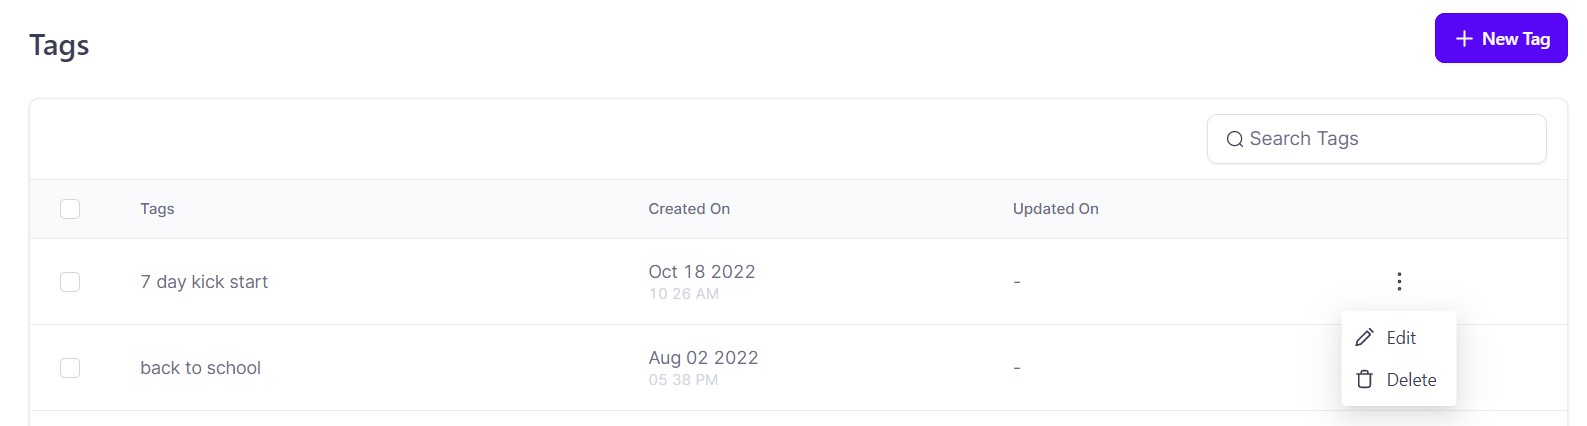
ELLIPSIS MENU OPTIONS
Click on the ellipsis menu (three vertical dots) to view available options. These include to Edit and Delete. Once you select an option, simply follow the on-screen instructions.
Automations
Automations
ADD OR REMOVE TAGS IN WORKFLOWS
You can add and/or remove tags to a contact as a action step in workflows. For example, you can prompt a tag to be added or removed on events such as form or survey submission, order form sale, and more.
1. Go to Automations > Workflows and create a new workflow (or open an existing one).
2. If required, add a workflow trigger. You can also bulk add contacts to a workflow in Contacts. Click here for more information.
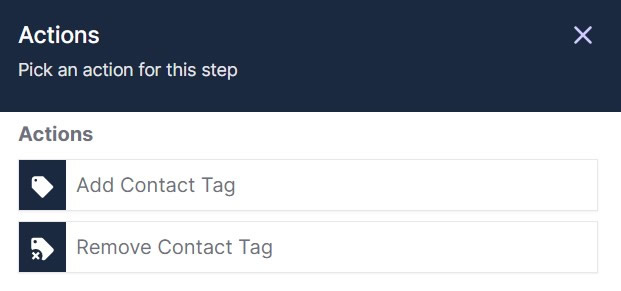
3. Click the + to add a new event to the workflow and choose either Add Contact Tag or Remove Contact Tag from the right-hand menu. Select the desired tags from the list. To create a new tag or search existing tags, use the search box. Press Save Action when complete.
4. Toggle on Publish and press Save.
TRIGGER WORKFLOWS FROM TAG ACTIONS
Adding or removing tags can also trigger Workflows. When you either add or remove to a contact, you might want to automate an event (such as adding them to Coach Catalyst or adding them to a newsletter workflow).
1. Go to Automations > Workflows and create a new workflow (or open an existing one).
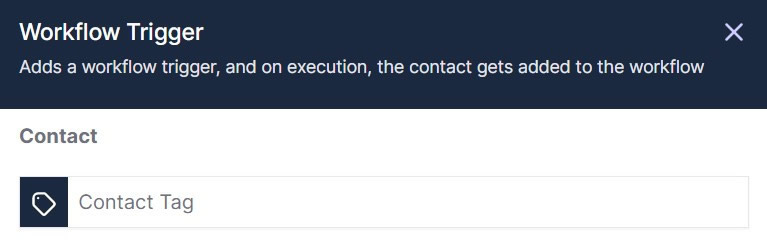
2. Click Add Trigger and select Contact Tag, then add a filter to select whether the tag is Added or Removed and select the required tag.
3. Add any action steps you want to happen next, such as Send Email.
4. Finally, toggle on Publish and press Save.

If you have a quick, system-specific "how-to" question, you can chat with our L1 Technical Support Team using the purple chat bubble in the bottom corner of the software. This team offers live chat 24/7, giving you instant access to help at any time of day.
If you have a more complex or outcome-specific “how-to” question, or a query about project requests, done-for-you resources, or Coach Catalyst, you can email our L2 Specialist Team at [email protected]. This team is available Monday to Friday, 8:00am – 1:00pm (EDT).
© 2026 SuperCoach CRM