
Online Store
Created by: Emma Johnston
Last Updated: February 01, 2024
Getting Started
ACTIVATING ONLINE STORE
1. Go to Sites > Websites and open the website you want to add the store to.
2. Click on Add Elements and select the Store tab.
3. Click + Add to Site. You will then see a progress bar as the Online Store is created.

4. Once completed, five new pages will have been added to your website (product list, product details, cart, checkout and thank you page). Your site navigation bar will also update to include a cart icon.
5. We recommend opening each of these pages and adding your existing navigation bar and footer from Global Sections.
Editing Store Appearance
NAVIGATION BAR ICON
To edit the color of the cart icon in the navigation bar, click on the navigation bar. In the General tab in the right hand panel, select Cart Icon Color.
CART ICON
In addition to the navigation bar, you can also add a cart icon to anywhere on your site. To add a cart icon, select Cart from the elements menu.
PRODUCT LIST/DETAILS PAGE
To edit the appearance of the product list (or the product details), open the Product List page (or the Product Details page) and click on the product list/details element to bring up the settings menu.
In the General tab, you can change the colors for program name, price and discount price, as well as the background color. You can also change the font family and mobile/desktop font size, and well as padding and margins.
In the Advanced tab, you can format the border and shadow, and change the visibility.
CART PAGE
To edit the appearance of the cart, open the Cart page and click on the cart element to bring up the settings menu.
In the General tab, you can change the colors for program name, price and discount price, as well as the checkout button and background color. You can also change the font family and mobile/desktop font size, and well as padding and margins. In the Text Options section, you can edit the headline, empty cart text and checkout button text.
In the Advanced tab, you can format the border and shadow, and change the visibility.
THANK YOU PAGE
To edit the appearance of the confirmation details, open the Thank You page and click on the cart element to bring up the settings menu.
In the General tab, you can change the colors for headline and shipping details text, as well as the continue shopping button and background color. You can also change the font family and mobile/desktop font size, and well as padding and margins. In the Text Options section, you can edit the headline and continue shopping button text.
In the Advanced tab, you can format the border and shadow, and change the visibility.
Managing Products
CREATE A PRODUCT
1. Go to Payment > Products and click + Create to create a new product (or clicking on the ellipsis menu to edit an existing product).
2. Ensure Include in Online Store is toggled on.
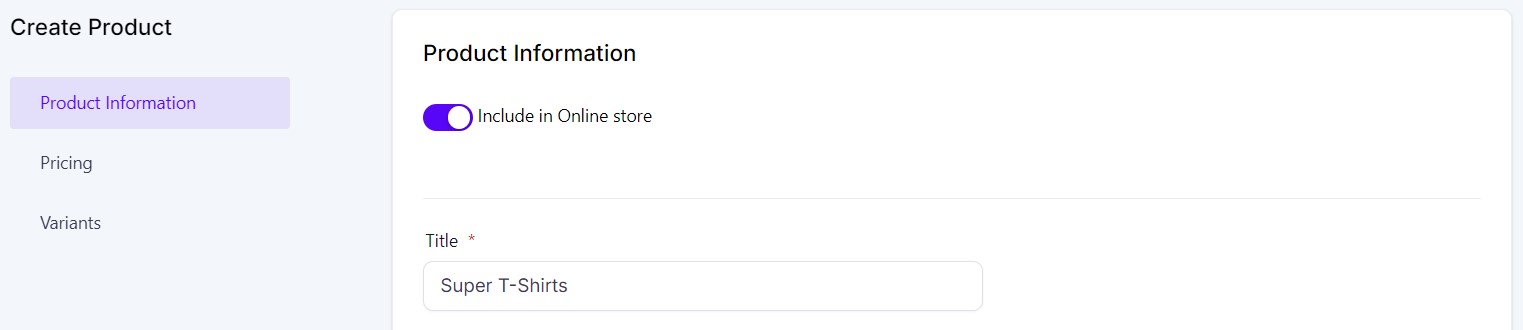
3. Add a product name, description and images (or video). This is the information that will be displayed on the Product List and Product Details page.
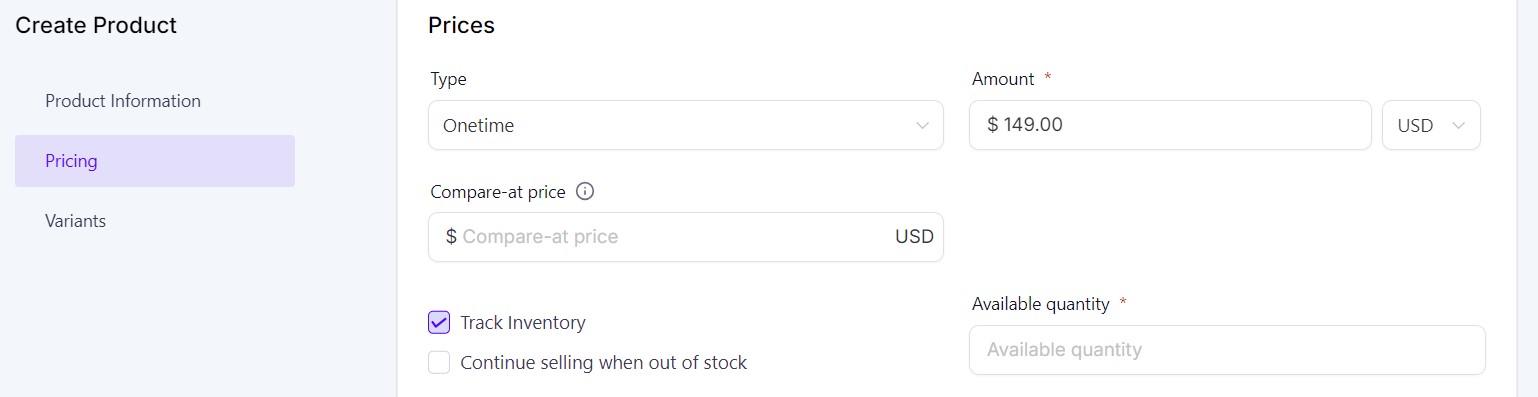
4. Add a price (and change type and currency as applicable) and press Save.
TRACK INVENTORY
If your product limited available, select Track Inventory under the Pricing tab and enter the available quantity.
You can also select whether to continue selling when out of stock.
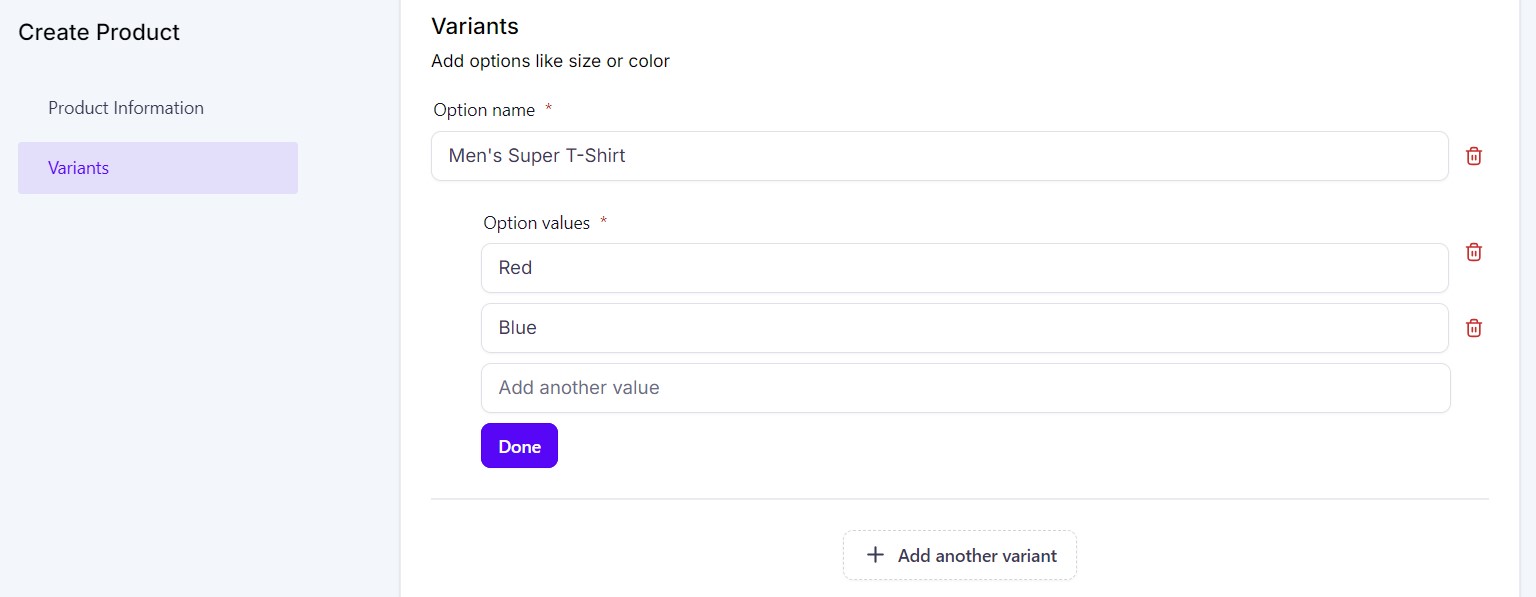
VARIANTS
You also also add variants for a product, such as size or color. In the Variants tab, add a name for the option and then add the option values. When you add variants, the pricing tab will disappear and you will give the option to price and track inventory for each product.
Online Store Abandoned Cart
ABANDONED CART EMAIL
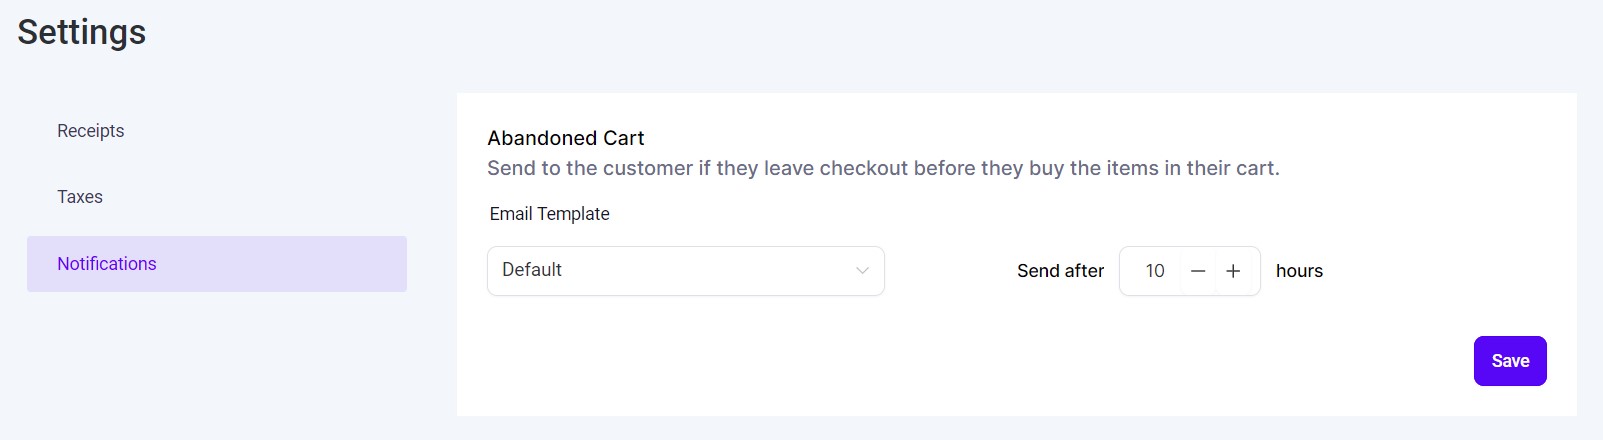
If you are using the Store feature, you can set up a automatic abandoned cart email.
1. Go to Payments > Settings > Notifications.
2. Choose with the default email or select an existing Email Template.
3. Choose a timeframe for the email to send after.
4. Press Save to finish.
ABANDONED CART EMAIL TEMPLATE
1. To create a custom Email Template, go to Marketing > Emails > Templates
2. Press the + New button and select Blank Template.
3. Edit the name of your template and add your email footer (from Saved Items) and your logo.
4. Add text to your email and use the eCommerce options from Custom Values.
5. Complete your email and press Save Template to finish.


If you have a quick, system-specific "how-to" question, you can chat with our L1 Technical Support Team using the purple chat bubble in the bottom corner of the software. This team offers live chat 24/7, giving you instant access to help at any time of day.
If you have a more complex or outcome-specific “how-to” question, or a query about project requests, done-for-you resources, or Coach Catalyst, you can email our L2 Specialist Team at [email protected]. This team is available Monday to Friday, 8:00am – 1:00pm (EDT).
© 2026 SuperCoach CRM