
Memberships
Created by: Emma Johnston
Last Updated: September 07, 2023
Membership Automations
You might want to automate processes for memberships. You can trigger workflows based on how users interactive with the course and you can grant and revoke membership as workflow actions.
Click here for more information about using Workflows.
Membership Triggers
MEMBERSHIP WORKFLOWS
1. Click on Automation > Workflows and click the blue + Create Workflow button in the top right of the screen.
2. On the next screen, select Start from Scratch. Once in the workflow builder, at the top of the page, you can rename a workflow using the pencil icon next to the title.
3. Click Add New Workflow Trigger and select the required Membership trigger (see below). Click Add Filters where necessary and select the required offer/product/category/lesson.
4. Click the + to add a new event to the workflow. Use the drop-down menu to select the choose one or more actions to occur, such Add a Contact Tag, Send Email, or Send Internal Notification.
5. Add any other required steps.
6. Press Save and toggle on Publish.
USER LOGIN
You can trigger a workflow when a user logs in the membership area. We recommend disabling Allow Re-entry in the workflow Settings. You might wish to send them a welcome email or congratulate them on getting started. If you have a memberships pipeline, you could also update their stage.

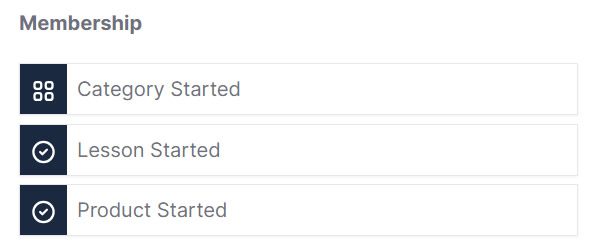
PRODUCT/CATEGORY/LESSON STARTED
You can trigger a workflow when a user starts a product, category or lesson. You might want to send an email to send them additional information, update a pipeline stage, add or remove a contact tag.
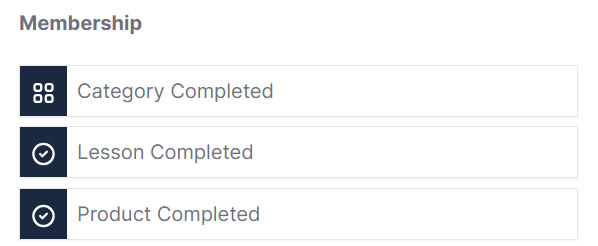
PRODUCT/CATEGORY/LESSON COMPLETED
You can trigger a workflow when a user completes a product, category or lesson. You might want to send them an email or text message congratulate them, update a pipeline stage, add or remove a contact tag, or send an internal notification.
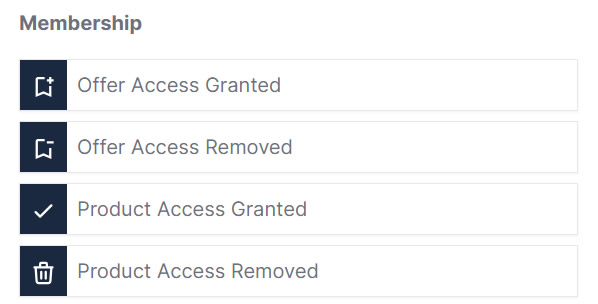
OFFER/PRODUCT ACCESS GRANTED/REMOVED
You can trigger a workflow when either access to an offer or product is granted or when it is removed. You might want to send an email or text message to the contact.
Membership Actions
GRANT OR REVOKE ACCESS
1. Click on Automation > Workflows and click the blue + Create Workflow button in the top right of the screen.
2. On the next screen, select Start from Scratch. Once in the workflow builder, at the top of the page, you can rename a workflow using the pencil icon next to the title.
3. If required, add a workflow trigger (such as Order Form Submission or Form Submitted).
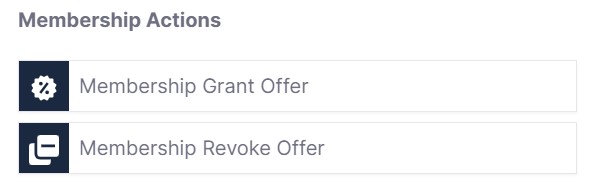
4. Click the + to add a new event to the workflow and choose either Membership Grant Offer (to grant access to an offer) or Membership Revoke Offer (to revokes access to an offer). Select the offer from the dropdown list and press Save Action.
5. Add any other required steps.
6. Press Save and toggle on Publish.
SEND LOGIN DETAILS
Once access to an offer has been granted, you will need to send login details by email. Click here for instructions.

If you have a quick, system-specific "how-to" question, you can chat with our L1 Technical Support Team using the purple chat bubble in the bottom corner of the software. This team offers live chat 24/7, giving you instant access to help at any time of day.
If you have a more complex or outcome-specific “how-to” question, or a query about project requests, done-for-you resources, or Coach Catalyst, you can email our L2 Specialist Team at [email protected]. This team is available Monday to Friday, 8:00am – 1:00pm (EDT).
© 2026 SuperCoach CRM