
Memberships
Created by: Emma Johnston
Last Updated: September 06, 2023
Membership Products
A product is a single course (made up of categories, subcategories, and posts) that lives in your membership area.
CREATE A PRODUCT
1. Go to Memberships > Courses > Products and click on + Create Product.
2. There are three example membership templates, but we recommend starting with Build Your Own. Click Start Building, enter a name for your course/product, and click Create Product.
EDIT DETAILS
1. Click on Edit Details.
2. Enter a one-line description for your course (which will be displayed on the product welcome page)/
3. Select and upload a cover image (recommended dimensions of 1280x720). This image will be displayed when your members view their library.
4. Press Save.
Add the Course Content
CREATE A CATEGORY
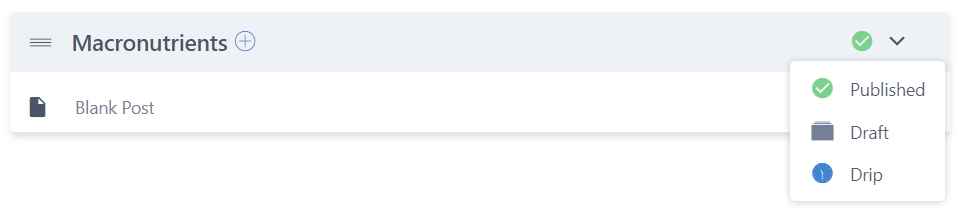
1. Click on Blank Post.
2. Add a category name and description.
3. Select and upload a thumbnail image (recommended dimensions of 1280x720). This image will be displayed for the category when your members view their library.
4. You can change the visibility of categories to published, draft, or drip. This can also be done by clicking on the icon on the product dashboard.
5. Press Save.
To add additional categories, click on the + icon next to Product Structure on the product dashboard.
CREATE A LESSON
1. Click on the + icon next to the category title and choose Add Lesson.
2. Add a title and add the lesson content. The lesson editor is almost identical to the Coach Catalyst lesson editor. You can format the text and add images and hyperlinks. You can also attach files. If you have video content, you can either upload a video (mp4 files only with a max size of 50MB) or you can embed these into the lesson (click on the < > to paste the embed code)
3. Select and upload a thumbnail image (recommended dimensions of 1280x720).
4. You can change the visibility of categories to published or draft. This can also be done by clicking on the icon on the product dashboard.
5. Press Save and click on the blue course title in the top-left corner to return to the product dashboard.
To add additional posts, click on the + icon next to Category Title on the product dashboard.
REORGANISE ELEMENTS
You can reorganize any element of your course (categories, subcategories, and posts) by hovering over the element, clicking on the grip lines, and dragging it to a new position. If you are rearranging categories that have a large number of posts, it can be helpful to collapse these first.
You can also change a post's category by clicking on a post and changing the category from the drop-down menu.
DRIP ELEMENTS
If you don't want your clients/customers to be able to access the whole course at once, you can drip release categories and subcategories. Either from the category settings page or by clicking on the icon on the product dashboard, change the visibility to drip. In the popup window, enter the number of days. (For example, if you want to release content each week, set the drip days for each category as 7, 14, 21, etc)
PREVIEW
You can preview the course or post by clicking preview at the top of the page.
Theme Settings
CUSTOMIZE APPEARANCE/THEME
You can change the appearance of your entire membership area.
1. Click on Customize, select a theme, and press either Customize (if you want to make changes) or Apply. There is also an option to Preview the theme.
2. Expand the Theme Settings in the Layout tab and add a primary color, secondary color, primary font, and secondary font. You can find this information in the Branding Information card on your Trello board. Choose whether to place your logo in the header section or the hero section.
3. Next, go to the Sections tab. Expand each of the five menus in turn (Heading, Hero, Lesson Progress, Course Body, and Instructor) and make changes to the colors and fonts.
4. Press Save Changes at any time to preview your changes in the middle window. You can also press Preview to see how the theme affects the whole product page.
5. Press Save Theme to update the theme and Apply to apply the theme.
Assessments
CREATE AN ASSESSMENT
1. Click on the + icon next to the category title and choose Add Assessment.
2. Add an assessment title and press Save.
3. Click on the assessment title to open the quiz editor.
PASSING GRADE
If want to add a pass mark to the assessment, you can check the Quiz Requires Passing Grade box. Add a passing grade percentage and add a pass confirmation message and a fail confirmation message.

ADD QUESTIONS
1. To add a question, click the blue Add Question button.
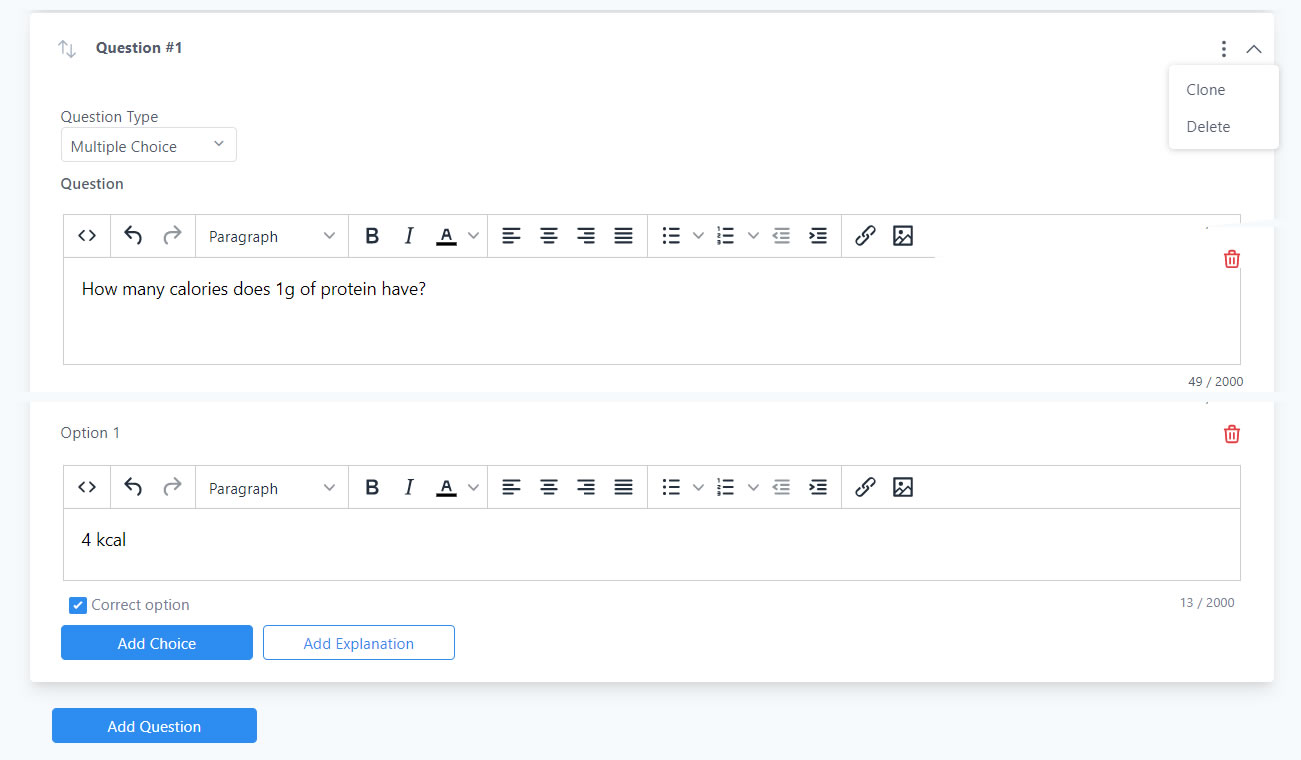
2. Click on the downward chevron to expand the question editor.
3. Choose the question type (multiple choice or single choice) and enter the question into the text editor.
4. Click Add Choice to enter a possible answer choice. Repeat to add additional answer choices.
5. Check the Correct Option box for the correct answer. You can also add an explanation if you want.
6. When complete, click the upward chevron to collapse the question.
7. Repeat steps 1 - 6 to add additional questions. Press Save when complete.
EDIT QUESTIONS
To edit a question, click on the down chevron to reopen the question editor. To rearrange questions, click and hold on the arrows and move the questions. You can clone and delete questions by clicking on the vertical ellipsis menu (three dots) and selecting the option.
Comments
MEMBERSHIP COMMENTS
1. If you want to enable comments on course, click on Comments underneath the course title on the membership product overview/editing page.

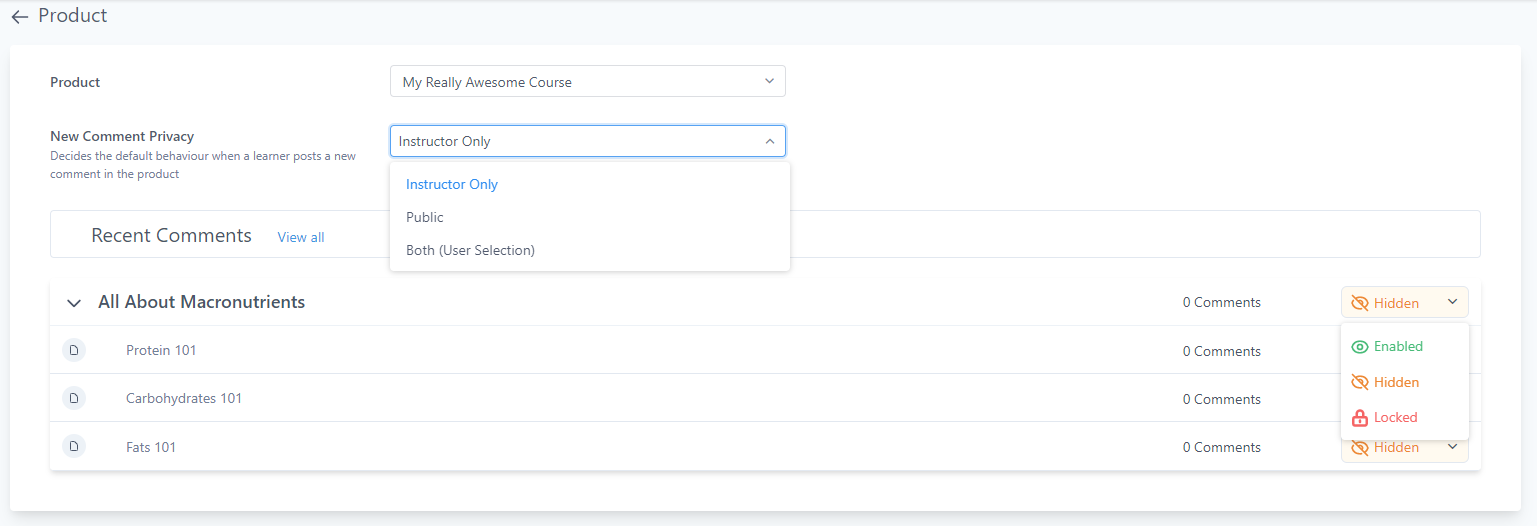
2. In the New Comment Privacy section, use the drop-down menu to select who can posts a new comment for the product. Choose from Instructor Only (comment will only be visible to the instructor and the user who added the comment), Public (everyone who have purchased the product can see it) or Both (user can select the privacy for the comment when adding it).
3. For section Category (or Lesson), select whether you want comment to be Enabled, Hidden or Locked.
4. Click < Products in the top left corner to exit.
NOTE: Replies will always respect the privacy of the parent comment.
MANAGING ALL COMMENTS
Instructors can change the privacy policy of any comment. You can see Recent Comments for a product in the Comments settings for that course.
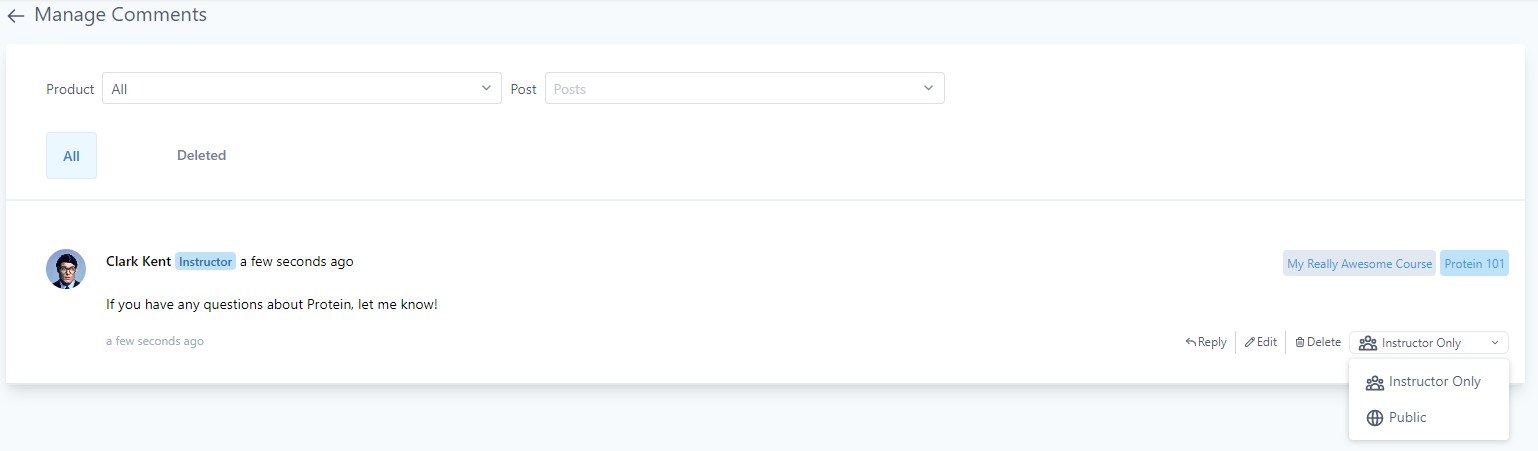
1. To manage comments posted by users or the instructor, click on Manage Comments at the top of the product dashboard page (under the Your Products title).

2. You can reply, edit, or delete a comment by clicking on the options next to the comment. You can also change the privacy setting of a comment.
3. Click < Manage Comments in the top left corner to exit.
Course Organization
MEMBER LIBRARY ORDER
You can organize the order of your products/courses for members in their library.
1. Click on Library Sorting at the top of the product dashboard page (under the Your Products title).
2. Using the grip icon, drag and drop your products to arrange the order in which they are displayed on the member library.
LIBRARY SEARCH
To sort your courses, use the drop-down menu in the top right corner and select how you want to sort them. Choose Library Order to view the courses as members see them. You can also sort by name, date created, recently updated, or member numbers.
SORT PRODUCTS
Using the Search Bar, you can search your products.s.
Course Progress
ANALYTICS
You can see how your members are progressing through the course by clicking on Memberships > Courses > Analytics. Select the course you want to look at. Here you can see progress (as a progress bar), start date, last login, and number of logins. You can click the arrows at the top of any column to sort the column into ascending or descending order. If you want to find a specific member, you can search for them using their email.
If you have a quick, system-specific "how-to" question, you can chat with our L1 Technical Support Team using the purple chat bubble in the bottom corner of the software. This team offers live chat 24/7, giving you instant access to help at any time of day.
If you have a more complex or outcome-specific “how-to” question, or a query about project requests, done-for-you resources, you can email our L2 Specialist Team at [email protected]. This team is available Monday to Friday, 8:00am – 1:00pm (EDT).
For Coach Catalyst questions, email [email protected].
© 2026 Growth Catalyst CRM