
Zapier (Outgoing)
CREATE A WORKFLOW
1. In SuperCoach CRM, click on Automation > Workflows and click the blue + Create Workflow button in the top right of the screen.
2. On the next screen, select Start from Scratch. Once in the workflow builder, at the top of the page, you can rename a workflow using the pencil icon next to the title.
3. Click Add New Workflow Trigger and select the desired trigger (adding the required filters).
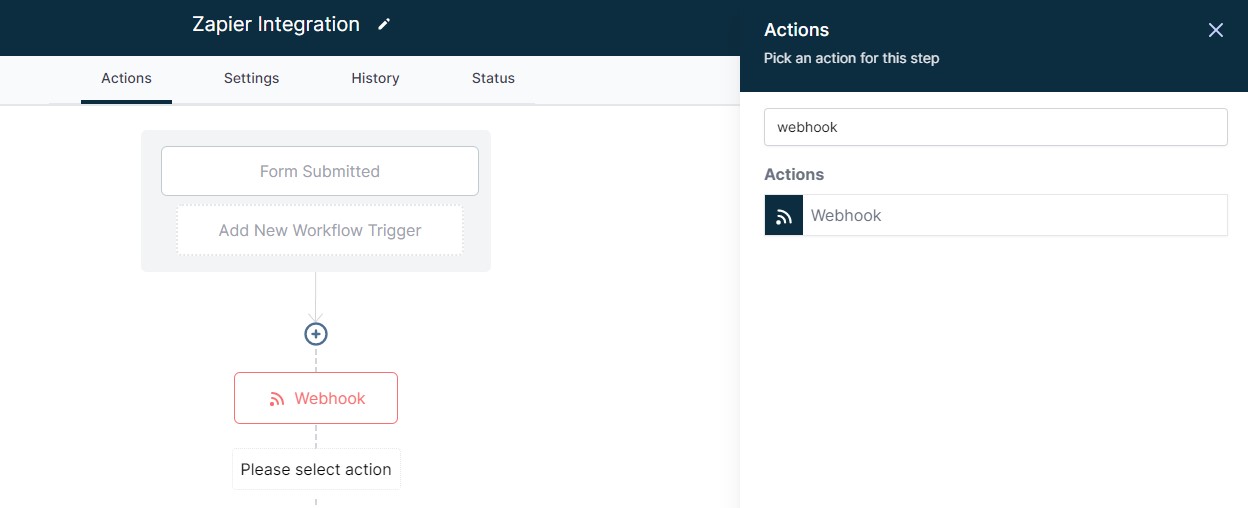
4. Click the + to add a new event to the workflow. Use the drop-down menu to select Execute Webhook.
5. Press Save.
CREATE ZAP IN ZAPIER
1. Next, in a new tab, log in to Zapier.
2. In the top left corner, click on the title to rename the zap.
3. In Step 1 Trigger Catch Hook, expand the Set Up Trigger section and copy the Custom Webhook URL and click Continue.

UPDATE THE WORKFLOW
1. Go back to the workflow in SuperCoach CRM and paste in the Custom Webhook URL in the Execute Webhook Step.
2. Toggle on Publish and press Save.
TRIGGER THE WORKFLOW
Now you need to trigger the workflow so that Zapier can extract some test data. This can either be done by completing the workflow trigger (such as completing the form or doing a test purchase). You could also add the workflow to the contact in Contacts. Click here for information about how to complete a test purchase.
EDIT THE ZAP
1. In Zapier, in Step 1 Trigger Catch Hook, click Test Trigger. A list of completed fields will show up. Press Continue.
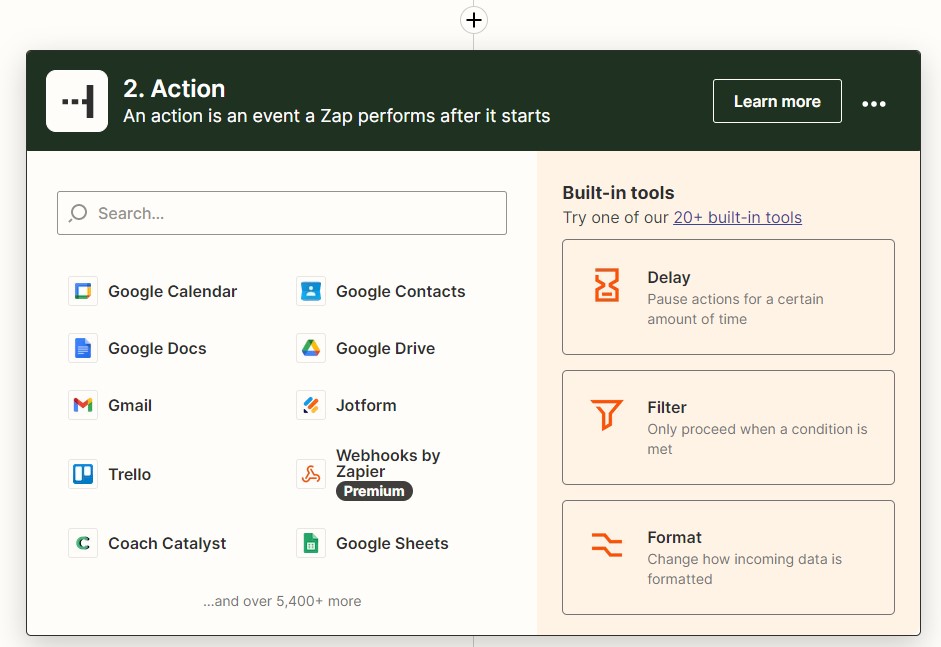
2. In Step 2 Action, select the desired app or tool.
3. Complete the steps as needed and Publish the zap.
Zapier (Incoming)
You can bring data from other tools into SuperCoach CRM by using the LeadConnector integration.
ACTION STEP
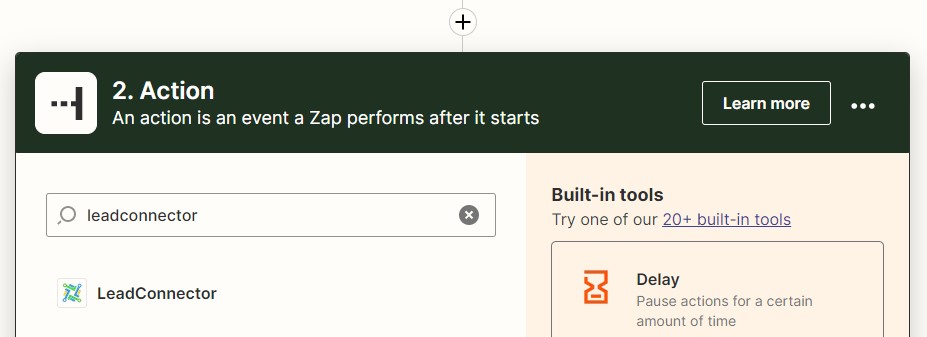
1. After setting up the Zapier trigger, add a Step 2 Action and select Lead Connector.
2. Choose the Event from the dropdown menu. Options include Add/Update Contact and Add/Update Opportunity.
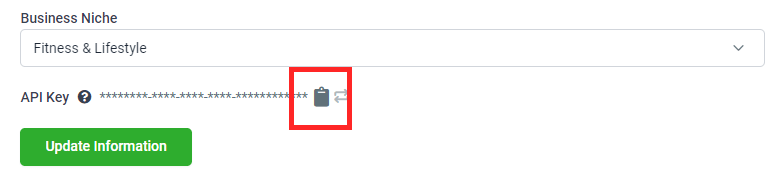
3. Choose your Account. If you have not used the LeadConnector app before, select + Connect a New Account. Go to your SuperCoach CRM account and go to Settings > Business Profile. In the General Information section, click on the clipboard icon to copy the API Key. Go back to Zapier and paste the information into the popup window.
4. In the Set Up Action window, click on the fields (such as full name or email) and enter the information select the options available from the action step (you can also type in information want to apply to all contacts, such as a tag name). You don't need to fill in all fields, just the ones you want to update. SuperCoach CRM does need information for the email field and/or phone field so that it can identify the contact. Note that the Mark as Lead field is required.
5. Once complete, press Test and Publish the zap.

If you have a quick, system-specific "how-to" question, you can chat with our L1 Technical Support Team using the purple chat bubble in the bottom corner of the software. This team offers live chat 24/7, giving you instant access to help at any time of day.
If you have a more complex or outcome-specific “how-to” question, or a query about project requests, done-for-you resources, you can email our L2 Specialist Team at [email protected]. This team is available Monday to Friday, 8:00am – 1:00pm (EDT).
For Coach Catalyst questions, email [email protected].
© 2026 SuperCoach CRM